If you’re new to indoor gardening or have watched a favorite leaf turn yellow from too much water, this guide is for you. It cuts through the confusion around soil moisture and gives you a reliable way to keep the root zone happy.
By following the instructions you’ll learn when to let the potting mix dry, how drainage holes and capillary action work together, and how to spot early signs of overwatering before root rot sets in. These tips answer the question How to Water Houseplants Without Overwatering, leaving your collection thriving without underwatering or water‑logging.
Understand the Root Zone and Soil Moisture Dynamics
The root zone is the thin layer of potting mix that directly surrounds the plant’s roots. When you water, water infiltrates this zone by gravity, filling larger pores first and then moving into finer spaces through capillary action. This upward pull keeps the lower part of the mix moist while the surface can dry more quickly, creating a gradient of soil moisture that roots use to absorb water and nutrients.
If the potting mix stays saturated for too long, the air pockets that supply oxygen to the root zone disappear. Roots then suffocate, and the excess moisture encourages fungal growth that leads to root rot. Conversely, letting the mix dry completely forces roots to stretch far in search of water, stressing the plant and causing underwatering symptoms.
The key is to maintain a balance where the root zone is moist but not water‑logged. After watering, allow excess water to escape through drainage holes; the remaining moisture will be retained by the mix’s water‑retention capacity. As the mix dries, capillary action draws water upward, keeping the roots hydrated without creating a permanently saturated environment. Monitoring this cycle—wet enough to support the root zone, dry enough to restore air—prevents overwatering while still meeting the plant’s water needs.
Choosing the Right Pot and Drainage System
The container you select directly dictates how much water remains available to the plant. Clay and terracotta pots are porous, allowing moisture to evaporate through the walls alongside the drainage holes. This natural ventilation helps dry out the potting mix between waterings, making these materials ideal for plants sensitive to overwatering. Conversely, plastic and glazed ceramic pots are non-porous. They seal in moisture, increasing overall water retention and requiring more careful monitoring to prevent the soil from staying saturated.
Drainage holes are non-negotiable for healthy root health. Without an exit route for excess liquid, the root zone becomes waterlogged, displacing essential oxygen and inviting root rot. If you must use a decorative pot without holes, treat it as a cachet. Place your actual plant in a pot with drainage holes inside, and remove the inner pot immediately after watering to ensure no excess water pools at the bottom.
Saucers serve a practical purpose: they catch runoff to protect floors and furniture. However, they are not storage containers. Leaving a plant sitting in standing water forces the roots to reabsorb that moisture, reversing the drying process and promoting stagnation. Empty any collected water from the saucer within an hour or two.
Some gardeners add a layer of gravel or stones to the bottom of the pot to improve drainage. This is largely a myth. Gravel does not help water escape the soil; it merely creates a reservoir underneath the root zone. Water will drain through the soil until it hits the gravel, then stop. This can keep the bottom of the root zone wetter than necessary. Rely on a coarse, well-aerated potting mix and sufficient drainage holes rather than physical barriers at the base of the pot.
Practical Watering Techniques and Timing
Checking Soil Moisture
Before watering, assess the current soil moisture. Insert your finger one to two inches into the potting mix. If it feels dry and crumbly, water is needed. If it feels cool and slightly damp, wait. For plants with shallow roots or delicate stems, a moisture meter provides an objective reading, indicating when the root zone requires hydration. Visual cues also matter; dry soil often pulls away from the pot’s inner walls, while saturated mix appears dark and heavy.
Timing and Volume
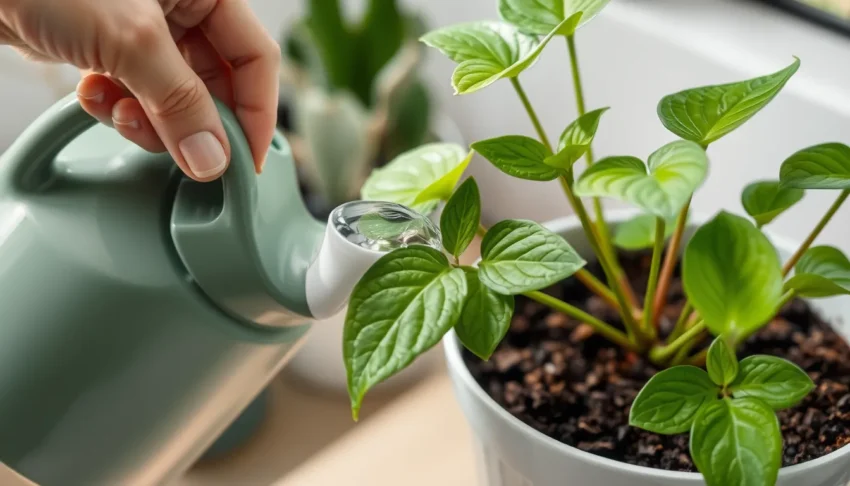
Water in the morning. This allows excess moisture to evaporate during the day, reducing the risk of fungal issues. Water until it flows freely from the drainage holes, ensuring the entire root zone is saturated. This flushes out salts and prevents dry pockets. Avoid scheduling rigid watering times, as needs change with season and light. Instead, check the soil before each session. When using a watering can, aim the stream at the soil surface, not the foliage, to prevent leaf spot diseases. For larger collections, consider a drip system that delivers consistent, small amounts directly to the base, though manual checks remain essential to avoid overwatering.
Recognizing and Responding to Overwatering Symptoms
If you suspect overwatering, look for the following indicators:
- Yellowing leaves that start at the base and spread upward, often with a dull or blotchy appearance.
- Wilting despite moist soil, because roots are suffocated and cannot uptake oxygen.
- Visible mold or mildew on the soil surface or pot rim, a sign of excess moisture.
- Persistent damp soil that never dries, even after a day or two.
- Root rot: roots that are brown, black, or soft to the touch and emit a foul odor.
To confirm the problem, gently remove the plant from its pot and inspect the root zone. Healthy roots are firm, white, and slightly translucent. If they appear mushy or discolored, root rot is likely.
Once overwatering is confirmed, take these corrective steps:
- Drain excess water immediately by placing the pot on a saucer or using a watering can with a fine nozzle.
- Allow the soil to dry to the top inch before the next watering; use a moisture meter or simply stick a finger into the soil.
- Improve air circulation by positioning the plant near a draft or using a small fan set on low.
- Increase light exposure; brighter conditions help evaporate moisture faster.
- If roots are rotten, trim affected portions and repot in fresh, well‑draining potting mix.
By monitoring these symptoms and adjusting care promptly, you can keep your houseplants healthy and avoid the cycle of overwatering.
Troubleshooting Common Mistakes and Plant-Specific Tips
Fixing Water Quality and Pot Size
Tap water often contains chlorine and fluoride, which can accumulate in the root zone and cause leaf tip burn. Let tap water sit out for 24 hours to allow chlorine to dissipate before watering. If you notice white crust on the soil surface, flush the pot by running water through until it exits the drainage holes to dissolve these salts.
Ignoring pot size leads to persistent overwatering. A plant in a pot that is too large holds excess moisture in the soil that the roots cannot consume. Ensure the root ball matches the pot size, with only an inch or two of space for growth. If the soil stays wet for days, the pot is likely too big.
Fertilizer and Humidity Adjustments
Overfertilizing damages roots, making them less effective at absorbing water. This forces you to water more frequently, creating a cycle of stress. Follow package instructions strictly and stop feeding during winter dormancy. Additionally, low humidity causes plants to lose water through leaves faster than roots can replace it. For tropical species, group plants together to create a microclimate or use a humidifier to reduce this stress.
Species-Specific Care and Repotting
- Succulents and Cacti: Allow the potting mix to dry completely between waterings. These plants store water in their leaves and stems, so under watering is safer than overwatering.
- Ferns: These prefer consistent moisture but never soggy soil. Use a pot with drainage holes and water when the top inch of soil feels dry. Brown tips often indicate dry air rather than lack of water.
Repot only when roots emerge from the bottom drainage holes or the plant becomes root-bound. Use fresh, well-draining potting mix each time. If a plant continues to decline despite correct watering and light, check for pests or disease. When in doubt, research the specific species’ native habitat to guide your care routine.